ReadCloud enables you to customise your bookshelf, to make it easier for you to navigate and find the content you're looking for.
Change the display of tiles between grid or row view
If you have lots of content in your Class Cloud, you can switch between grids or rows to make it easier to see what's inside your Cloud. Click the row icon ![]() in the top right of the bookshelf to switch between row view and grid view
in the top right of the bookshelf to switch between row view and grid view ![]() .
.
 Row view
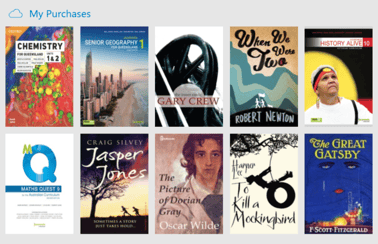 Grid view
Toggle full-screen mode
Hit the expand button ![]() to toggle full screen on and off to make it easier to focus on reading and hide other apps or websites.
to toggle full screen on and off to make it easier to focus on reading and hide other apps or websites.
Change the Clouds Position and Size
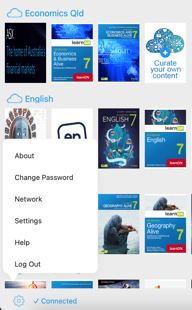
ReadCloud’s settings are located in the bottom left hand corner of the bookshelf. Click the settings cog icon to bring up the menu.
Click or tap on Settings in the menu to bring up a dialogue box with all off the different settings you can make or change.
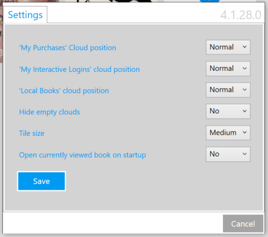
You can make the following changes:
- Change the position of system clouds ('My Purchases', 'My Interactive Logins' and 'Local Books" to be where they are normally or move to the top or bottom of the bookshelf.
- Hide empty clouds which don't have any publisher or curated content inside of them
- Change the tile size to be small, medium or large
- Choose to open your currently viewed book on startup
Other Settings in the Menu
There are a number of other options in the settings menu:
- About - displays your app version and your operating system.
- Change Password - to change your app password
- Network - to update your school proxy credentials (only for Windows users)
- Help - will take you to the ReadCloud Support page
- Log out - logs you out of the app
Learn more
Watch our YouTube tutorial below to see more about the Bookshelf Setting and how can you make different changes